I know it could feel overwhelming to buy a new laptop when you don’t know to check its specifications. It’s a good idea to learn how to check specifications like processor speed in laptop. This knowledge will help you to make the right choices before buying a laptop. I was a victim of choosing the wrong laptop for my job until I learned through experience.
In this blog, I will show you how to check processor speed in laptop and other crucial specifications. It’s an actionable guide with screenshots at each stage till you see all specifications including the processor speed.
I also have another guide that helps you to select a laptop with good processor speed according to your use case. Keep reading to know where you should go to check the processor speed in your laptop before you buy.
Ways To Check Processor Speed in Laptop
Method 1: Check Processor Speed in Laptop With the System Information App
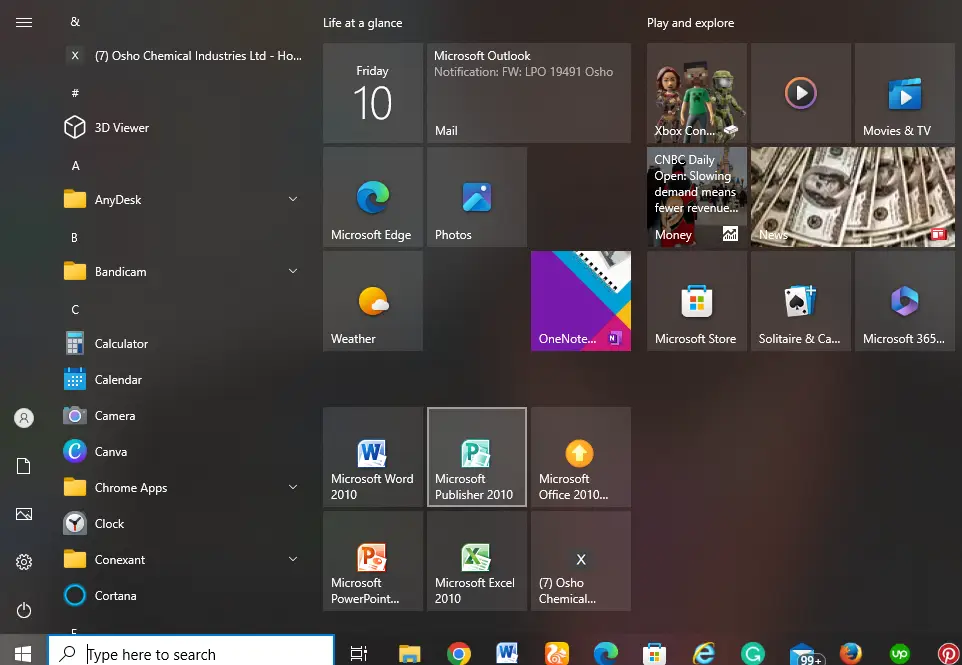
Step 1: Press the Windows Key
After booting the laptop, press the Windows Key to display the menu as shown below.
Step 2: Search for System Information
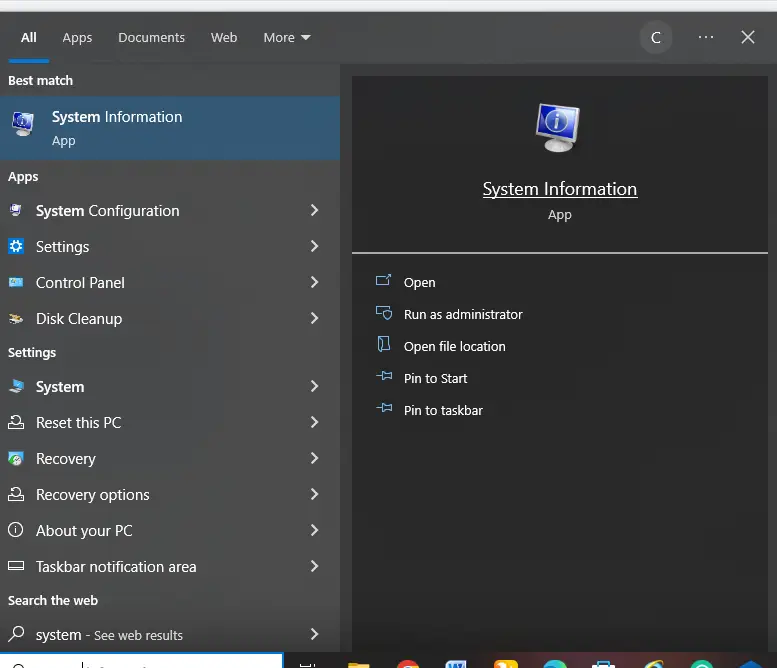
Search for the System Information app on the search box at the bottom left corner of the menu as shown below.
Step 3: Click to Open the System Information App
After the app has appeared, click on it to open the details of the laptop as shown below.
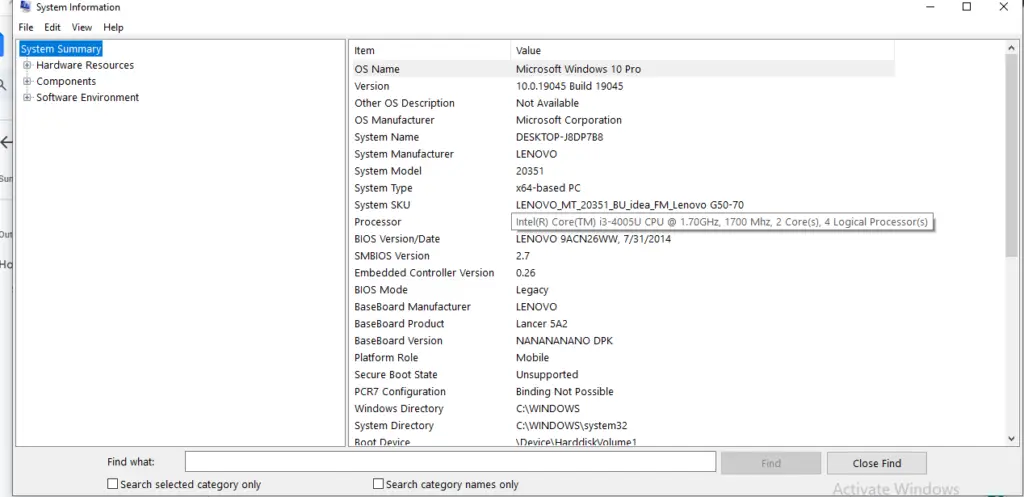
On this window, you can also see other specifications of the laptop such as the installed RAM, number of core processors, the operating system version, etc.
Method 2: Check Processor Speed in Laptop Using the Settings App
You can also check a laptop’s processor speed using the settings app as shown below.
Step 1: Press the Windows Key/ Start Menu

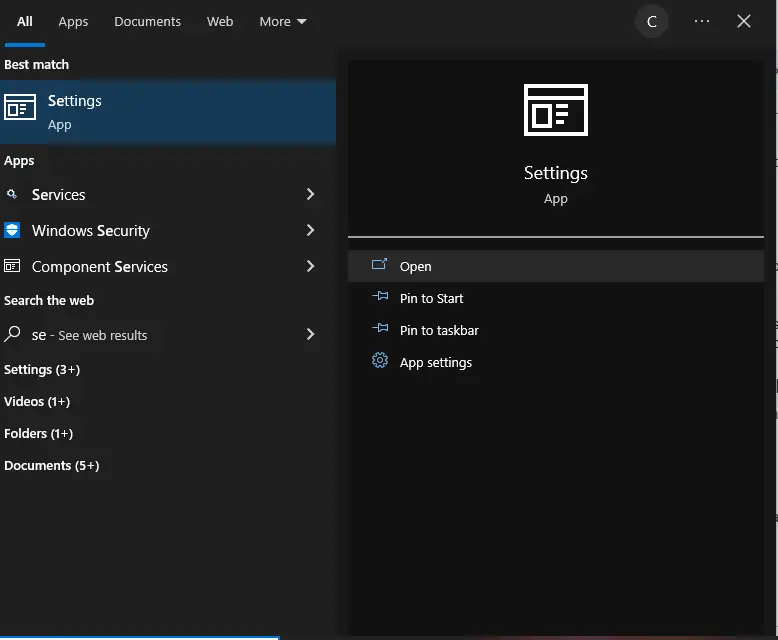
Step 2: Search for Settings App
On the search box at the bottom left corner, search for the settings app and click open as shown below.
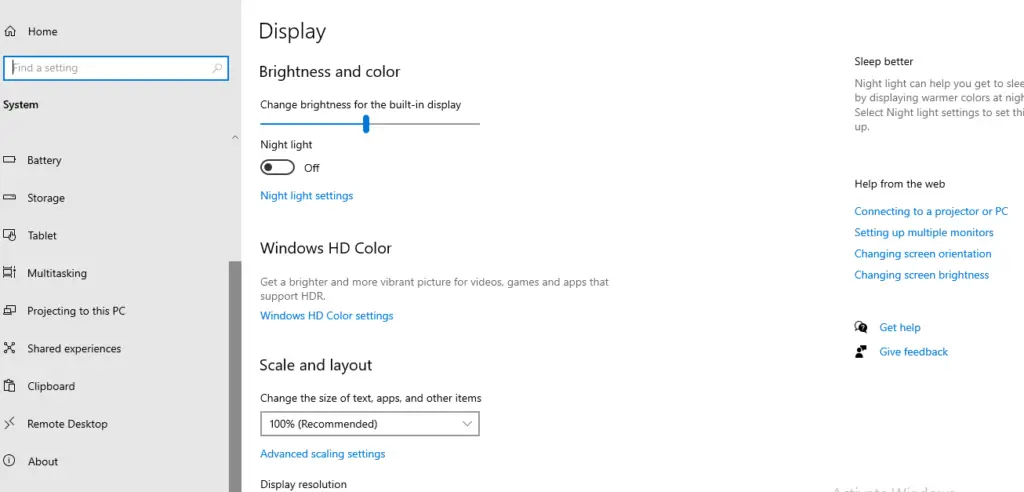
Step 3: Click on System
Click on System Icom to view the specifications of the laptop.

Step 4: Scroll Down and Click ‘About’
Step 5: View the System Specifications
This should show you the laptop’s processor speed and other system specifications.

Method 3: Check Processor Speed in Laptop Using the Microsoft System Information Tool
Another way you can check processor speed in a computer is through the System Information Tool as shown below.
Step 1: Right-click on the start menu

Step 2: Click ‘Run’ as shown below
On the command section, write ‘msinfo32.exe’ and click OK.

Step 3: View the system specifications and the processor speed

Method 4: Check Processor Speed in Laptop Using the Task Manager
You can also check the CPU speed in a laptop using the Task Manager as shown below.
Step 1: Right-click the start key and click on Task Manager

Step 2: Click on Performance, then CPU

Processor Speed for Different Use Cases
Now that you know how to check processor speed in a laptop, how do you ensure to select the right speed for your use case? Well, I have simplified the process on your behalf. Check the table below.
| Use Case | Processor Speed | Number of Cores |
| General office work, Microsoft Office & browsing | 1.7 GHz to 2.6 GHz | i3 to i7 |
| Gaming | 2.6 GHz to 4.0 GHz | i5, i7, and above |
| Photo and video editing and design | 2.6 GHz to 4.0 GHz | i5, i7, and above |
| Video Live Streaming | 2.6 GHz to 4.0 GHz | i5, i7, and above |
The Bottom Line
With the knowledge on this blog, you can now select a good laptop with your preferred processor speed. The good news is you know where to find the processor speed of any laptop. The same procedures also apply to desktop computers.
Do you like my blogs? Let me hear your views in the comment section and remember to subscribe to my newsletter below.
